
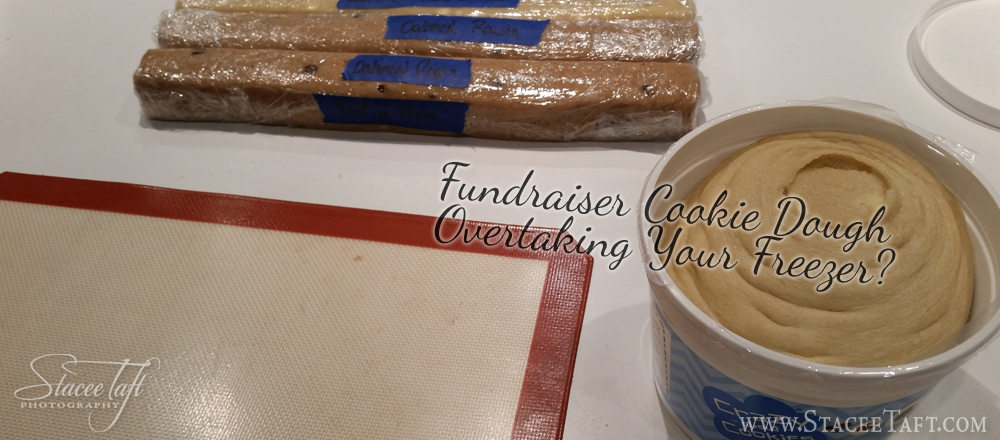
Each soccer season we are encouraged heavily to sell
extremely unhealthy cookie dough
to support our kids’ soccer club.
This is the kind of dough
that you can leave on your counter for SIX months,
freeze/thaw back and forth or leave in the fridge…
and it will be fine.
Perfectly fine!!
Yeah, not exactly stuff you want to push on people you love
and want to live a long healthy life! LOL
Especially when I work so hard on our family eating healthy!
But…
because we love to support the soccer club,
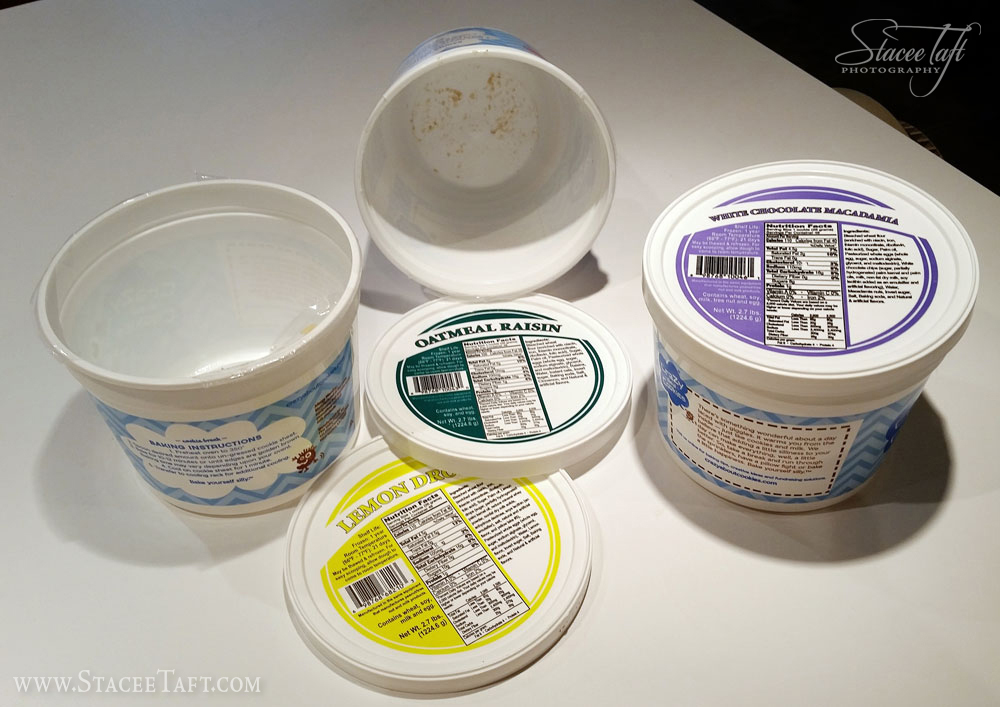
we typically purchase 4 tubs of this stuff each year.
Now these tubs take up quite a lot of space
for the amount of cookies you get from them.
And in our home,
freezer space is at a premium!
You can’t leave them in the fridge very long or else
they dry out… fast.
Not so bad in the freezer, but again,
freezer space is coveted and not to be wasted!
But if you leave them in the freezer
you nearly break a spoon trying to get the dough out
…or you have to wait for it to thaw.
I have used an ice cream scoop and it wasn’t horrible,
but it did break chips and nuts in half,
not very pretty when you bake the cookies.
So, this year I decided to try something new…
Make them more compact, faster & easier to bake!
{Btw, if you’re following this as directions,
now is a good time to take off your rings…
dough does nasty things to rings!}
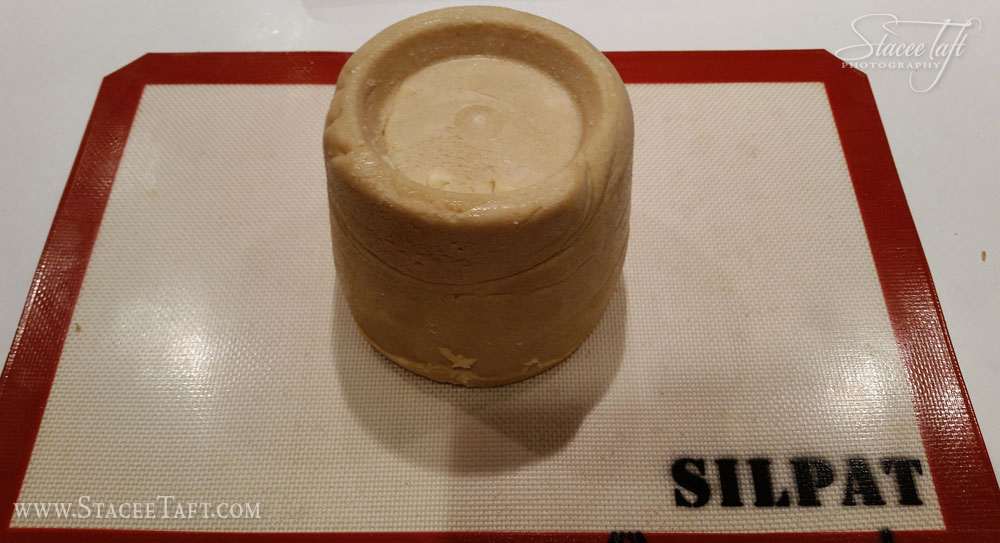
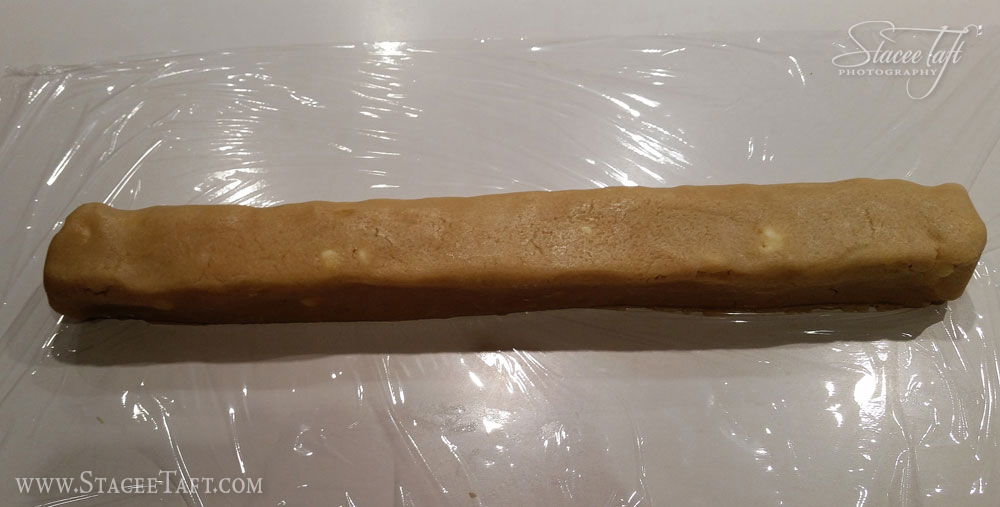
I dumped the contents of a tub onto a Sil Pat (or any flexible non-stick surface) and started squishing it into a long lump.
At this point I wasn’t going for pretty! LOL
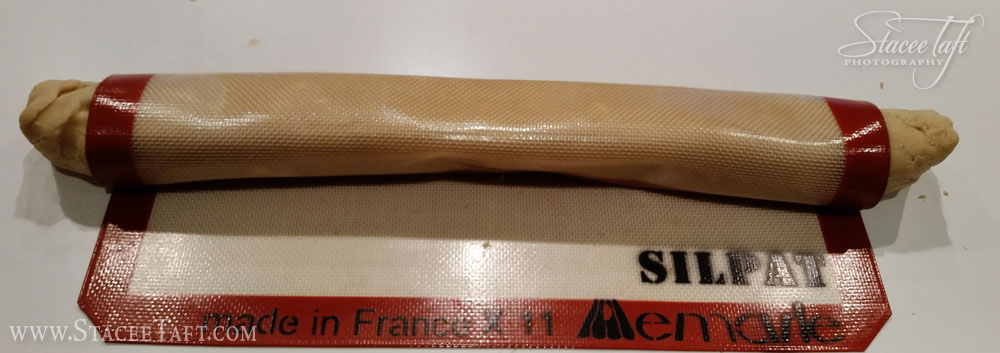
Then I wrapped the Sil Pat around the dough lump-log and, with very strong hands, gently, but firmly put pressure in the middle and worked it toward the outsides.

Once it started “extruding” out the ends of my Sil Pat, I broke the lump-log into two parts, placing the extra part on wax paper to wait for it’s turn.

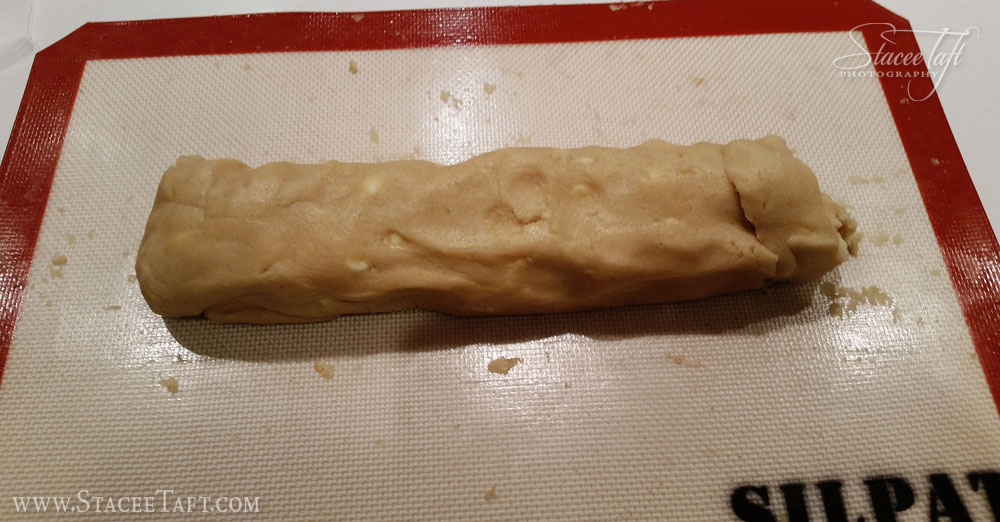
Then I repeated the process again by wrapping the Sil Pat around the dough
and doing the same thing as before, but this time trying to make it very even along the whole log.
A few times I had to unroll the Sil Pat and adjust the dough and start again.
Once I had a “pretty” log, round or square, depending on how I held my hands,
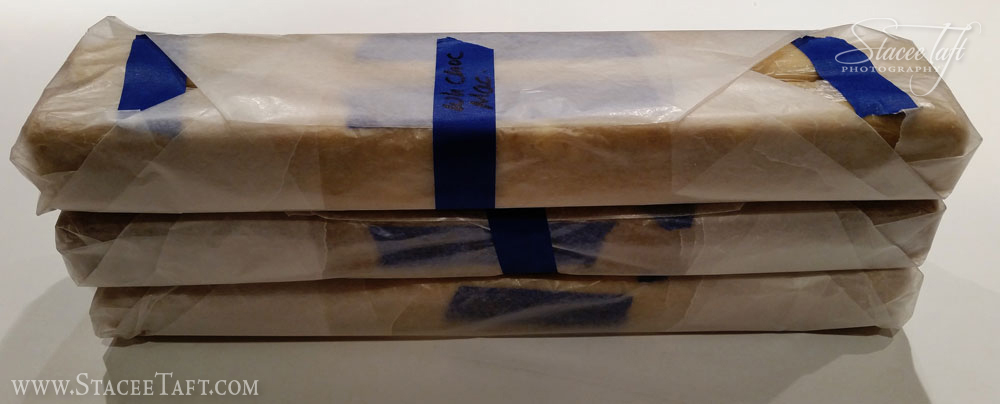
I then placed the log onto saran wrap and wrapped the ends first, then the sides.
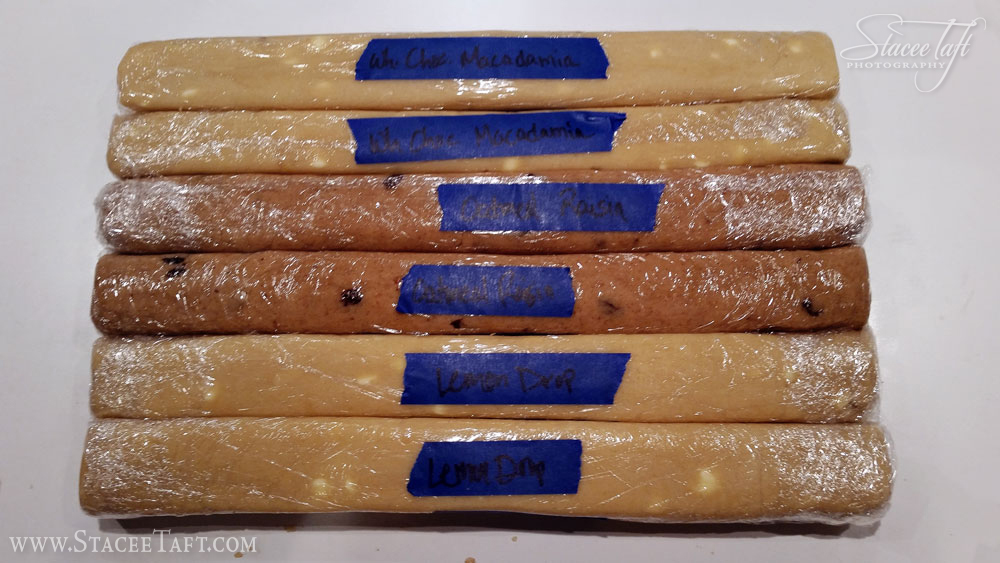
I labeled each with baking temp and time and, of course, what flavor of cookie it was.
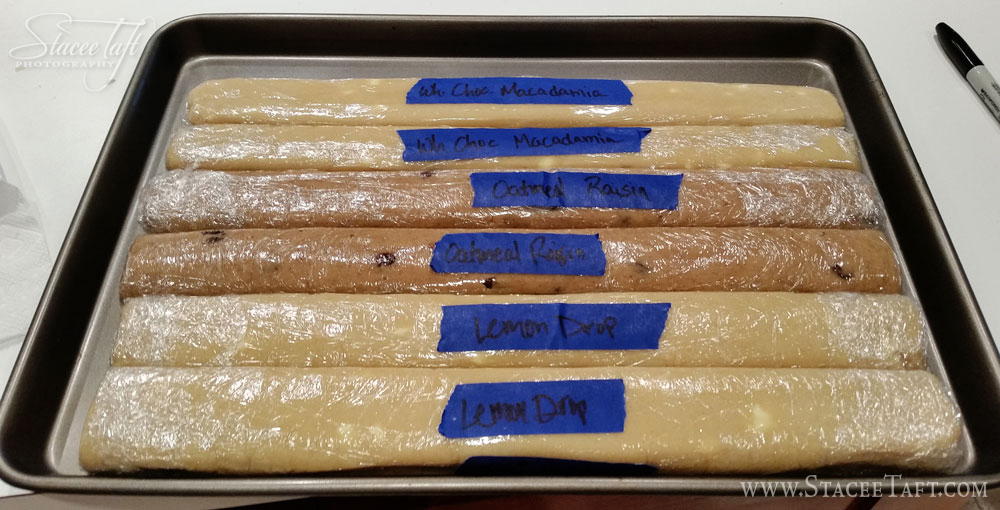
Then I put them on a cookie sheet and put them in the freezer to flash freeze them.
Once they were solid, I wrapped them again with wax paper just to give them a little more protection from freezer burn or drying out.
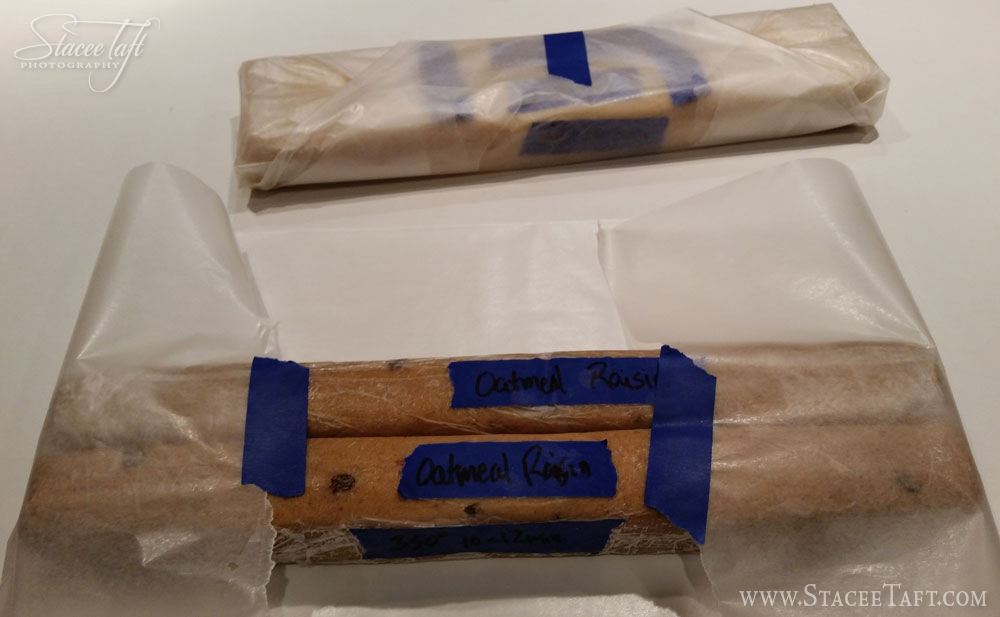
It probably took me 15 minutes for three tubs (other than trying to document this for you all) to do the whole process up to flash freezing.
The benefit of this process is
1) You aren’t giving up nearly as much freezer space!
2) You can use any dough for this process, not just fundraiser cookie dough!
3) You can simply grab a frozen log and slice off the cookies you need.
4) Super fast and easy.

However, this process does nothing to help the nutritional value of the cookies! LOL But they do taste gooood! 🙂
Disclaimer: photos taken with my cell phone with greasy fingers…
obviously not taken for quality as much as visual to help the process be better understood.
First of all, you are hilarious. Second of all, this is brilliant! Love that you can slice off the cookies to bake them as well!! Thanks for sharing this tip, happy cooking eating 🙂
Thank you, Audrey! 🙂 Humor is my second language I’m pretty sure! LOL
The things we do to support our kids! It’s “healthy” cookie dough for you and 110% unhealthy Girl Scout cookies in this house.
What a great idea to take the dough out of the tub and roll it up. Instant cookies and more freezer space. Awesome 🙂
Yummy Girl Scout cookies!!! Just ordered some from our neighbor’s daughter!! 🙂
very smart! fundraiser dough is a foreign concept to me but this seems like a really great solution!
Thankfully only soccer has cookie dough, basketball has apparel and track/field has restaurant fundraisers… LOL Oh the joys of having kiddos in sports! 😉
What a smart way to save space from those tubs! It is a little dangerous in how easily accessible the cookies now become though…
LOL So very true!! But when it comes to dough, I’m a purist and it must be made from scratch! So I’m semi-safe! 😉
Mom used to make pinwheel cookies back in the 1970s and 80s, and they were rolled like that and refrigerated before cutting and baking. It’s a good idea to make rolls of dough for freezer storage.
I remember pinwheel cookies! So pretty and tasty! Haven’t made them in… forever!
what a great idea!
Not a problem I have yet, but what a great life hack. I’ll remember this!
What a great idea! Cookie dough doesn’t last long in this house but I may have to just stock up now that I have this tip!
I love ideas that make things more simple and stream-lined! Nicely done!
Me, too!!! Simple and organized are my goals… doesn’t always happen, but I try! 🙂